

A Progress Bar can be a great visual Element in your Bubble no code web apps. For instance, you may have an extensive account registration process that has multiple steps, or pages, your users need to fill-in. Or you may have an education app in which your users get quizzed. Having a Progress Bar will visually show your users how much of the registration process or quiz they have left to complete. The video below will show you how to implement a Progress Bar in your web apps.
You’ll need to install the FREE Progress Bar plugin (refer to image below)

Once installed, simply add a Progress Bar Element to your design. In the video I use arrows to simulate the changing of “pages” so you can see “progress” being made. In your app, your users will be progressing thru account registration questions, quiz questions or even survey questions.
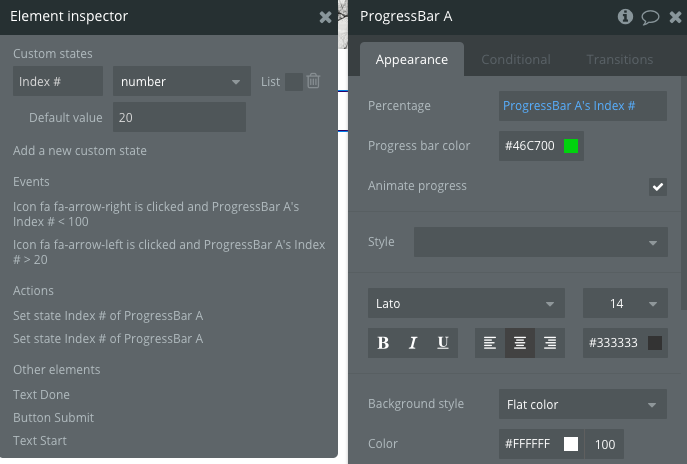
In the demo it’s assumed there are 5 “pages” for a user to progress thru; each page represents 20% progress. So when an arrow is pressed, the Workflow will add 20 (for right arrow) or subtract 20 (for left arrow). The design uses a Custom State called “ProgressBar A’s Index #”. It has a default value of 20 which allows the Progress Bar to be at 20% (or first “page”) when the app’s page loads (or refreshes). Refer to image below. Check out these videos for how to use Custom States in your web apps.
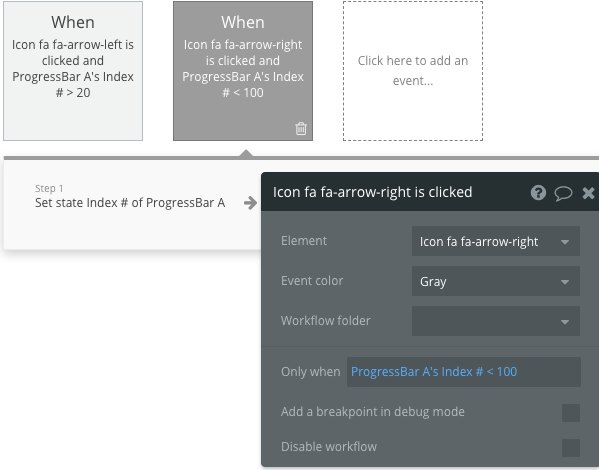
The image below shows the Workflows where there’s a condition to test if the “ProgressBar A’s Index #” value is greater than 20 but less than 100. That’s to make sure the Progress Bar values don’t go outside the 0 to 100% range.
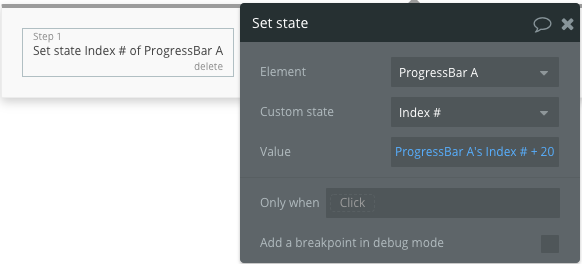
Then in the image below you see the Workflow Step to add 20 to “ProgressBar A’s Index #” Custom State value which occurs when the right arrow is pressed.. There’s a similar Workflow Step for the left arrow but it decrements the Custom State by 20.
Adding the Progress Bar Plugin is a relatively easy Element to add in your Bubble no code web apps. Watch the video for the walk-thru on how to implement.


